In this tutorial, we’ll show you how to reach out to websites via their contact forms fast and easy!
How it works.
Before we go into the nitty-gritty steps, sending through contact forms simply allows you the ability to send a specific message (email) – whether new or pre-written – through a contact form on websites. It will include your contact details so they can get back to you.
Step 1: Download the Chrome Extension (to make this an automated process)
You will need the Chrome Extension before using this feature.
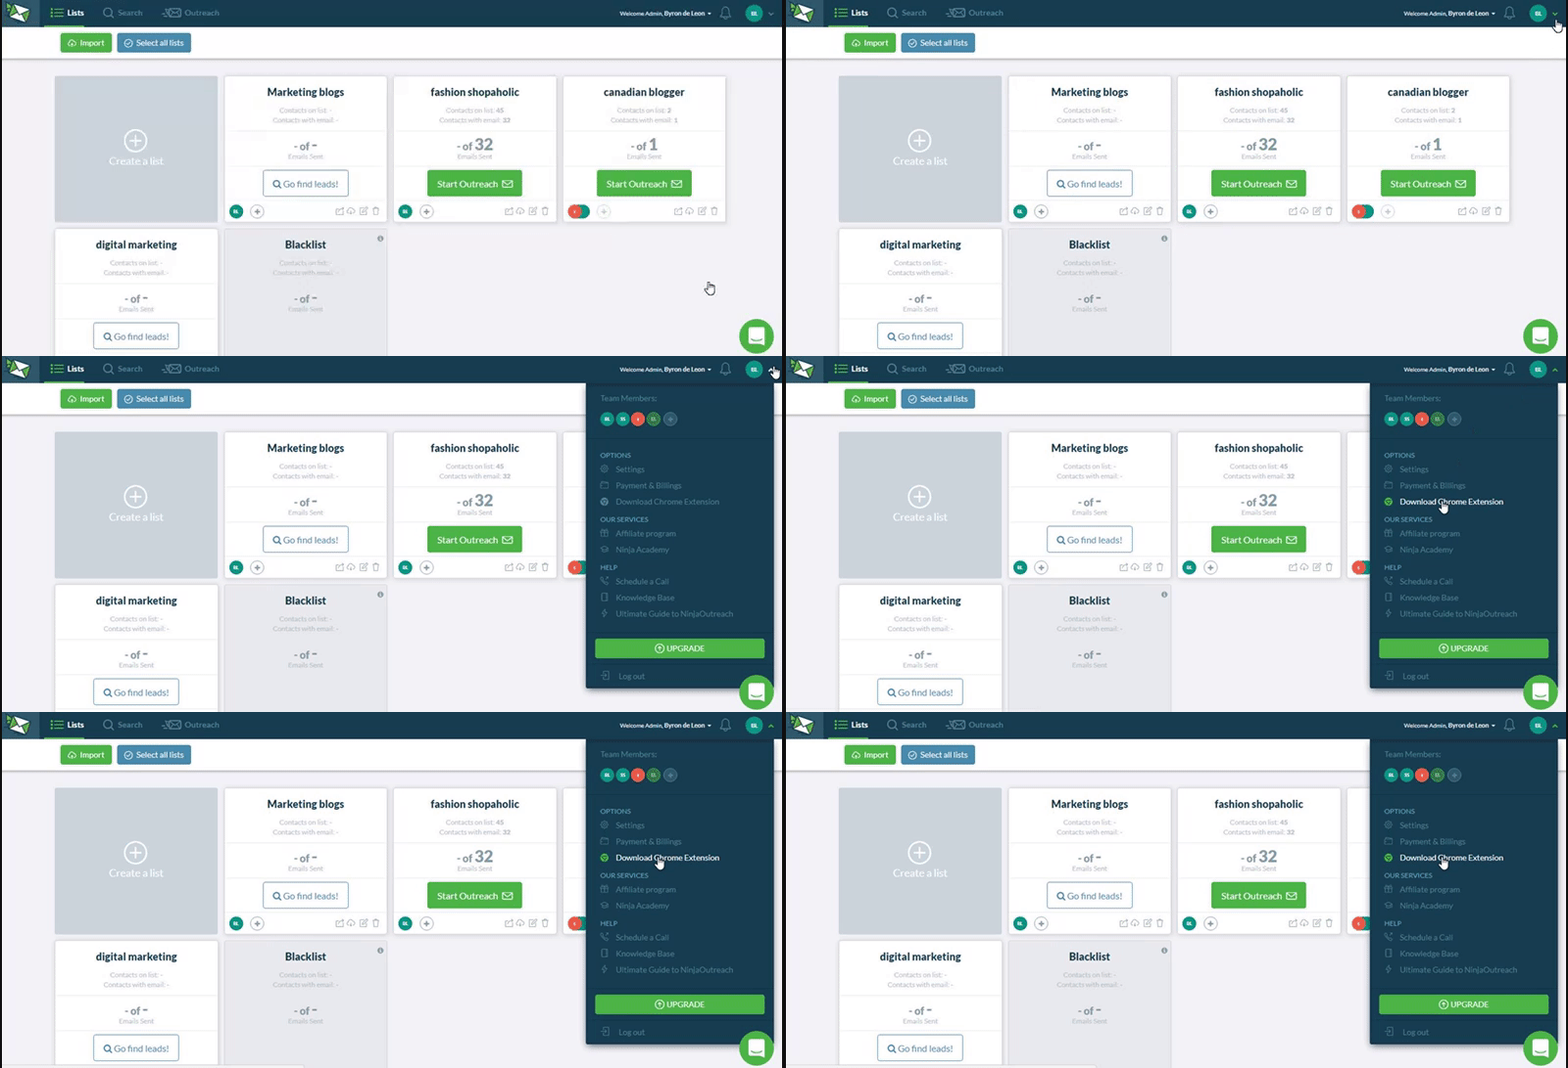
If you’re inside the NinjaOutreach website Click Menu and then select “Download Chrome Extension” or just go to this link https://chrome.google.com/webstore/detail/ninja-outreach-lite/ggafbfbbholjabenemjoimkkkookgbam
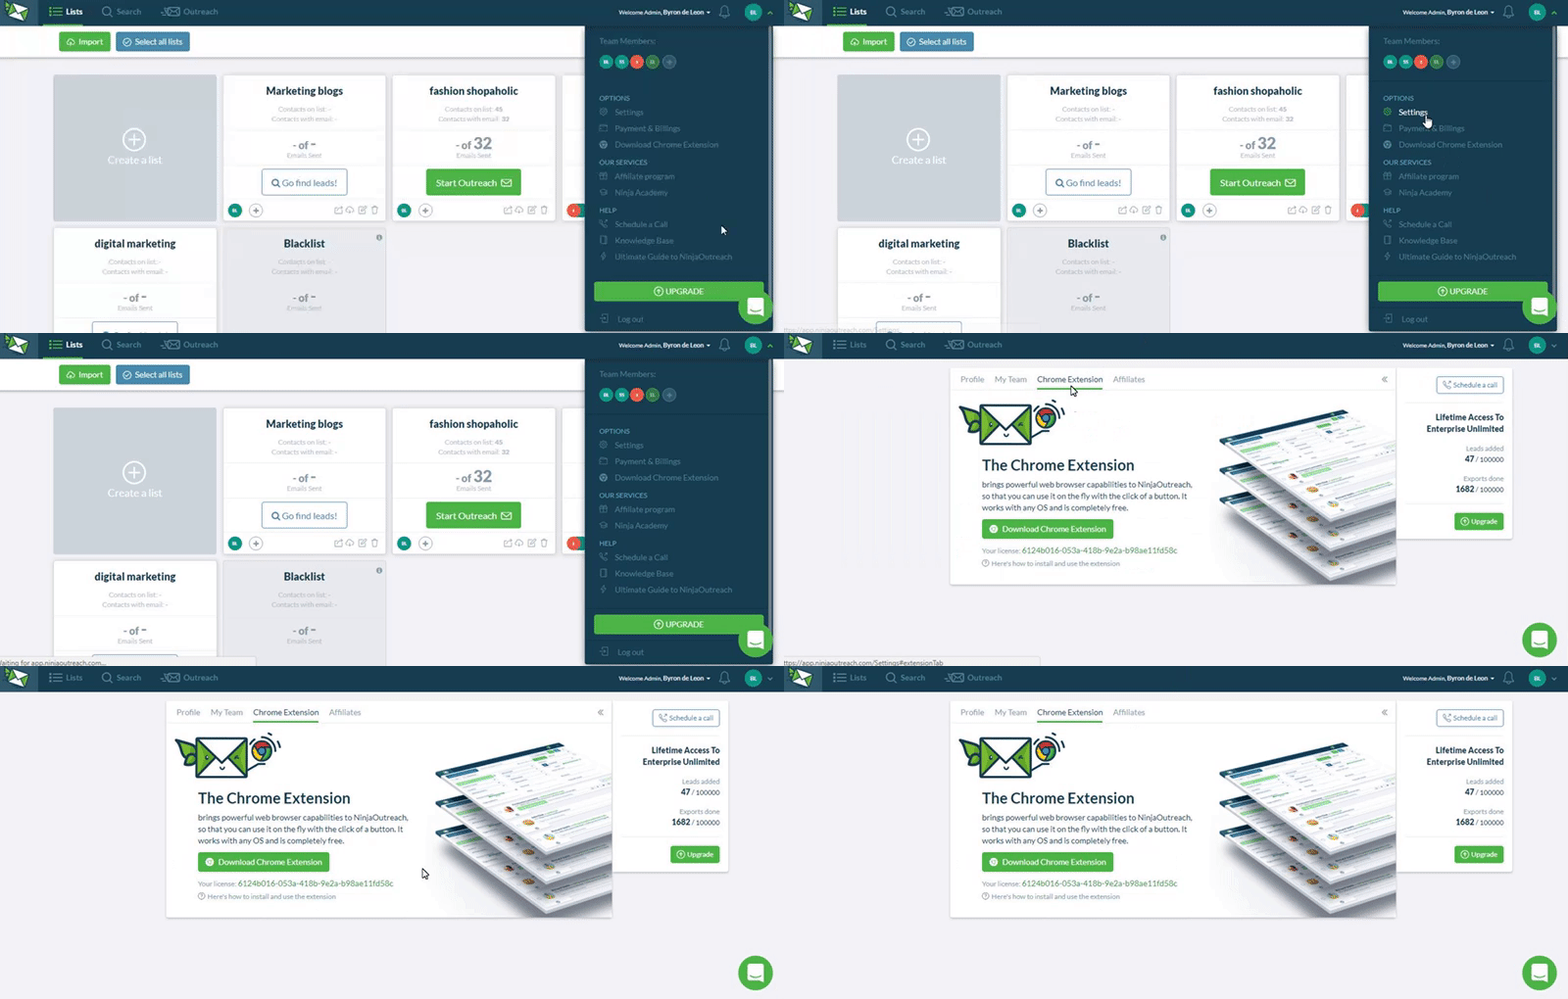
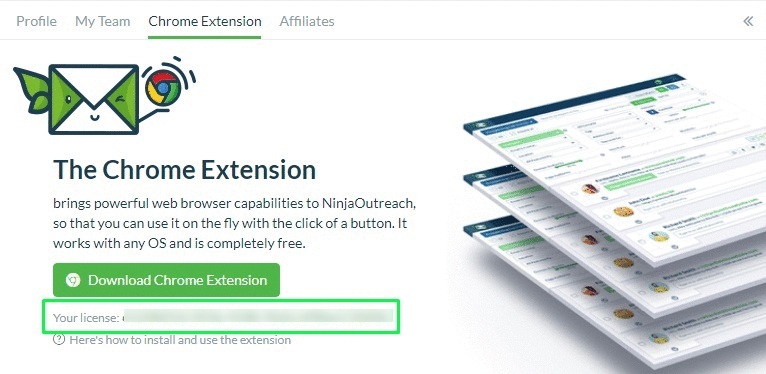
Before you log in to your NinjaOutreach Chrome Extension, get your license key ready first. You can find it here in your Menu under Settings, then select “Chrome Extension”.
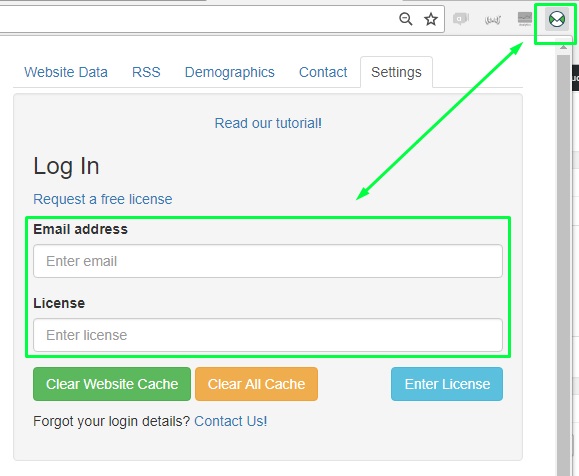
To activate it, click the NinjaOutreach icon in your toolbar, log in and enter the license key.
Step 2: Fill Contact Form Fields
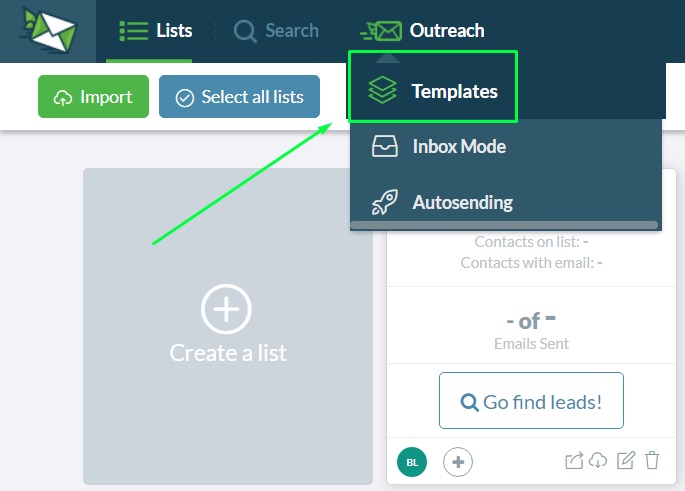
Head to Outreach and click Templates.
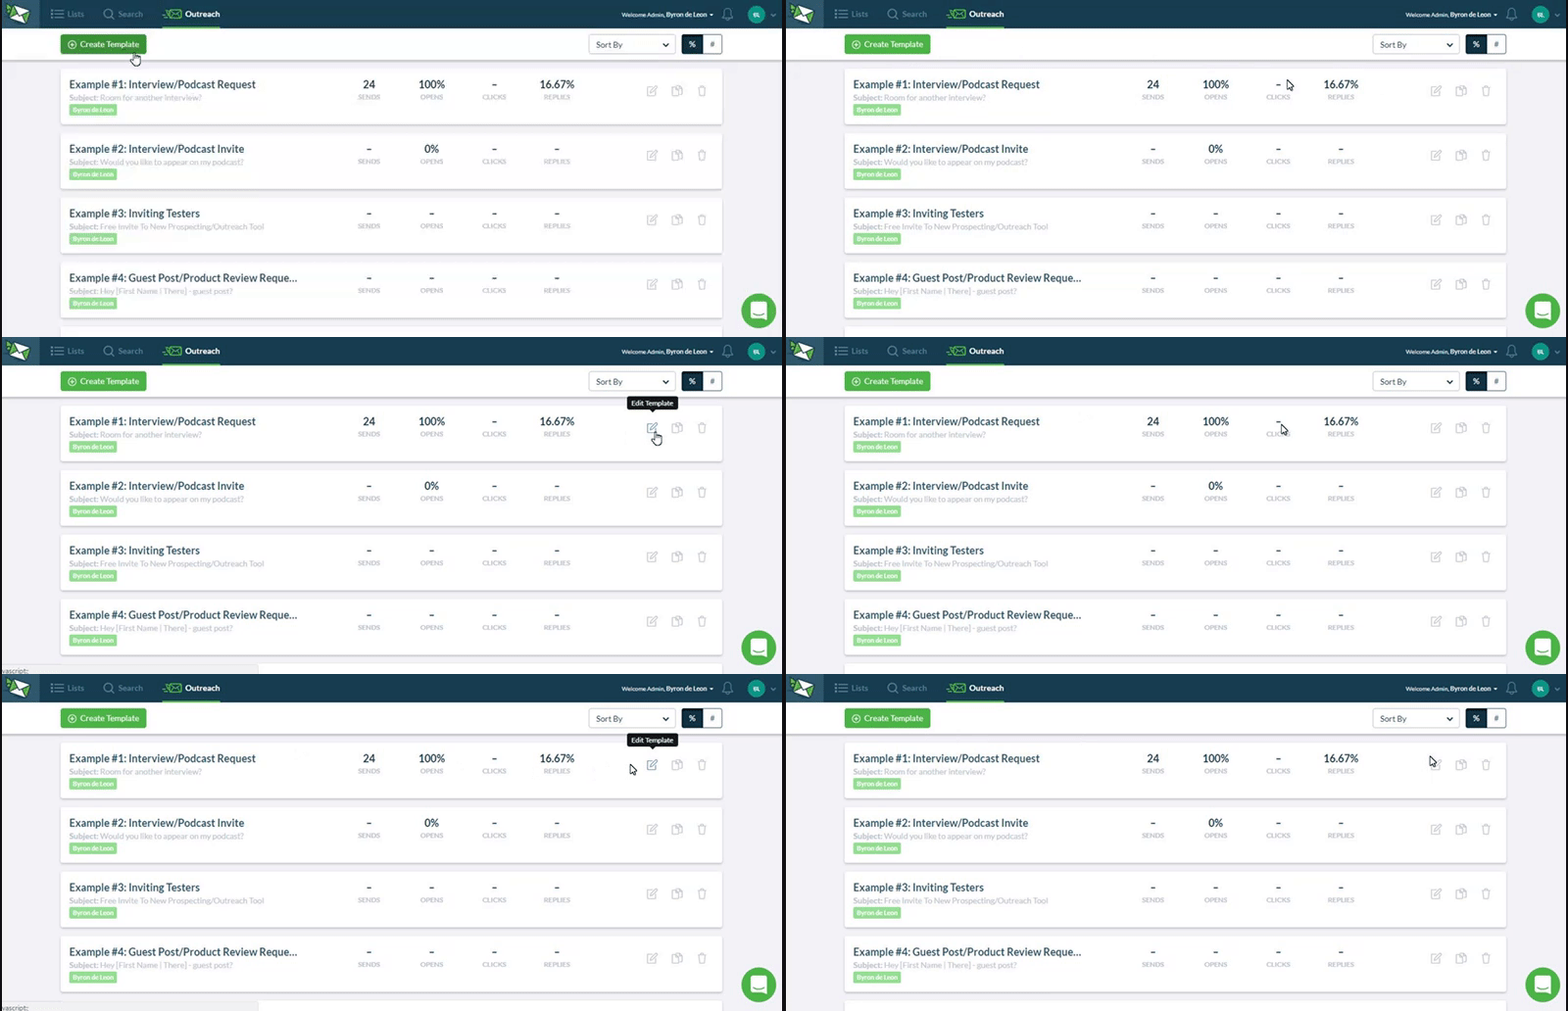
Click Create Template (the green button on the top left) or edit an existing one by clicking the Edit Template button.
A template window will appear and you’ll see a Contact Form tab. Click it and you’ll find the default form fields for you to fill in for that particular template.
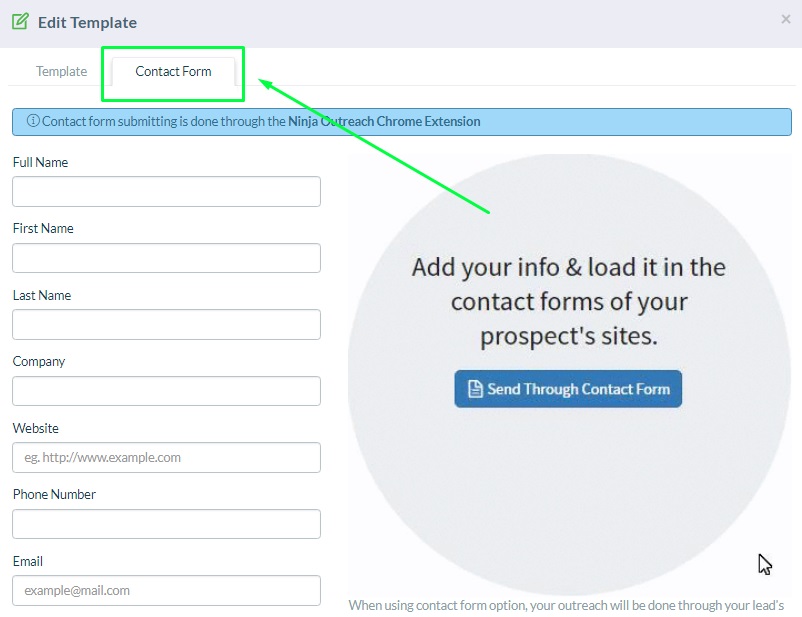
Then, just fill in all the relevant fields with the details you want to appear on the contact form.
You can also set the values as default for all your templates by selecting “Set Values As Default For All Contact Forms” at the bottom of the page.
And when you’ve saved your details, a little bubble will appear next to your template name to tell you that it has your contact form details attached.

Step 3: Time to send!
Note: This feature is only available in Inbox Mode and can only be done manually. Auto-sending does not support sending through contact forms.
Click Outreach and select Inbox Mode.
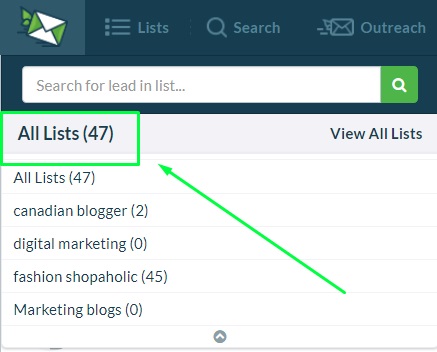
In here, select the list you want to send to.
Tip: You can make this process more efficient by clicking the button “Filter” and then check “Has Contact URL”, so you will only see contacts with a contact URL.

Select the template you want to use and click the button “Send Through Contact Form”.
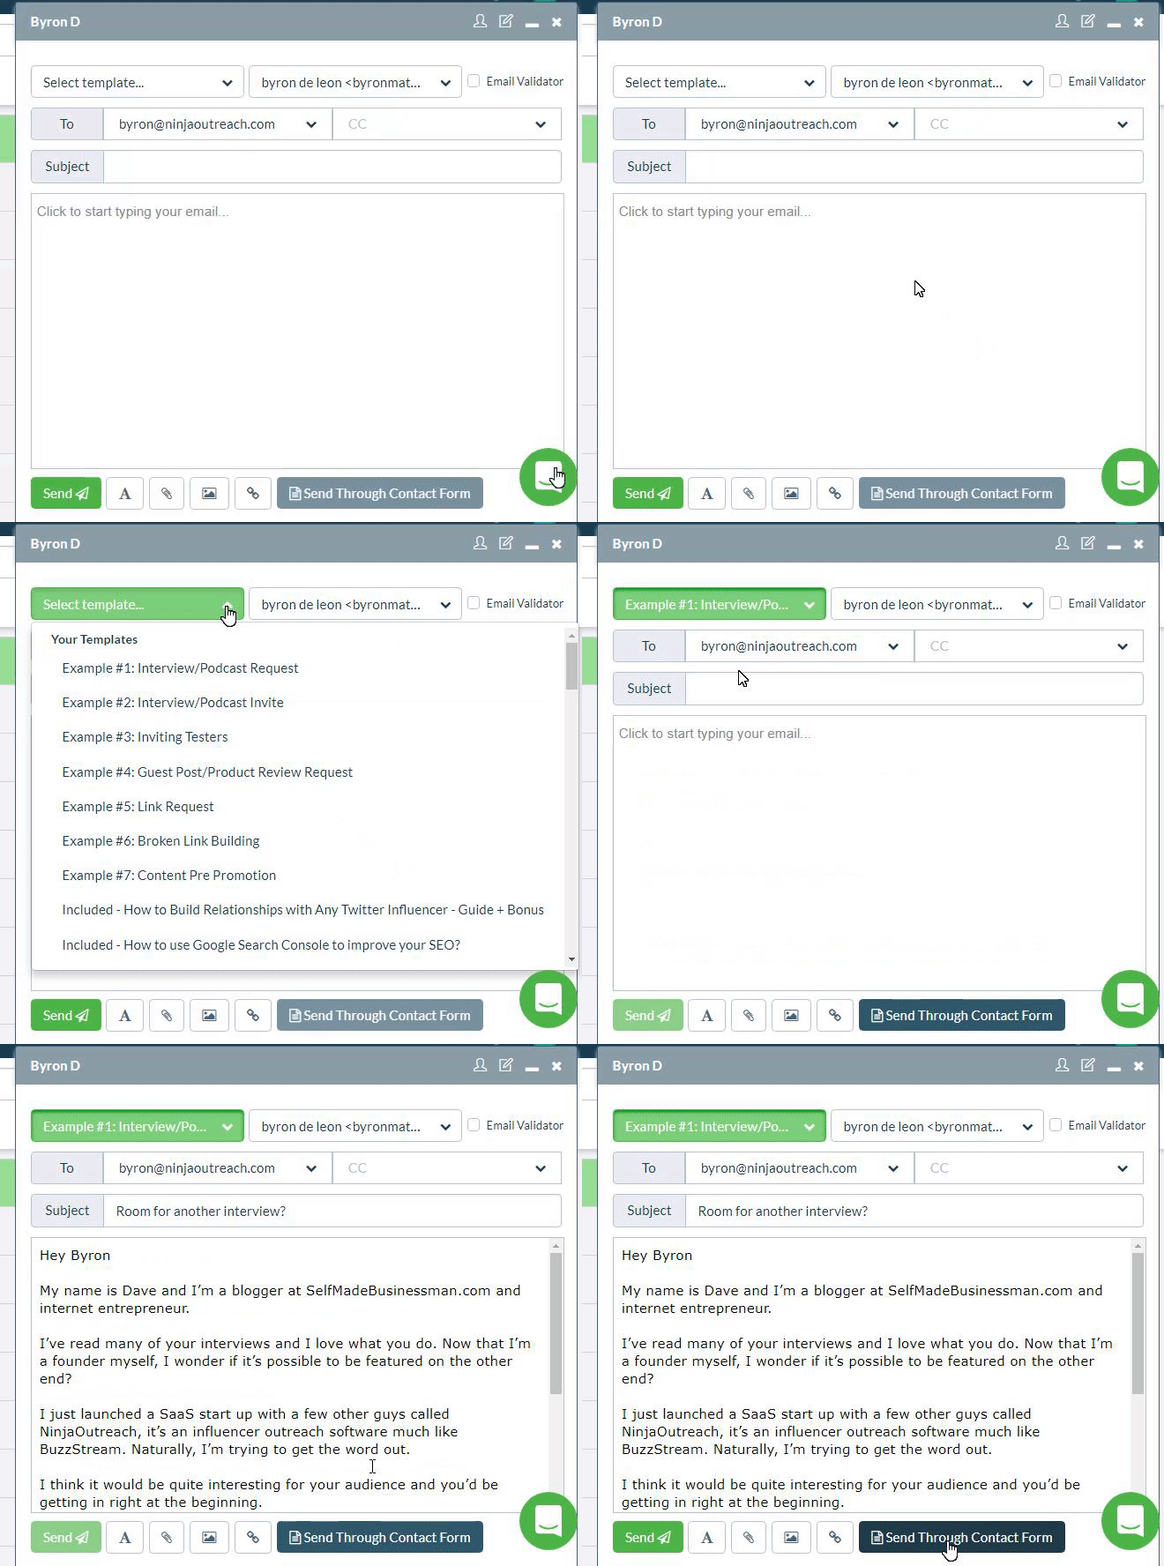
If the Lead has a contact URL it will open that page and load the template into it with your default fields.
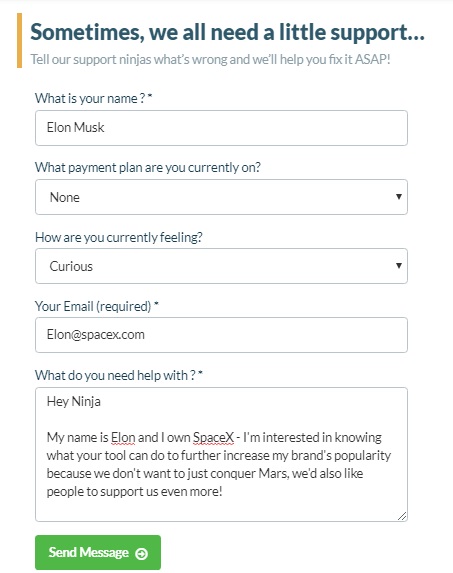
You will still have to fill out any required fields and caches and click send in the actual browser – NinjaOutreach does not actually submit it.
Note: NinjaOutreach has an email limit of 200 emails per day. Which means, if you have 1000 contacts, your campaign will complete in the span of 5 days.
Now you know how you can use this feature to significantly help you save lots of time in your outreach process!

Leave A Comment?